Managing and Using Document Tags
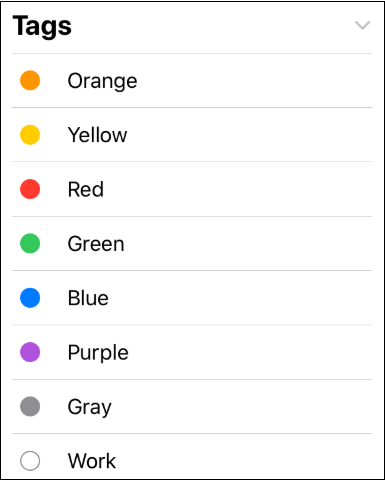
Several default tags are provided within the Document Menu and can be assigned to one or more drawing documents for sorting within the Document View. These tags can be found at the bottom of the Document Menu as shown below.
Default Tags within the Document Menu can be assigned and used to filter drawing documents within the Document View. Tags may be re-arranged, added, removed, and modified as needed within the Document Picker.
This page will show how to perform the following actions when using Tags in the Document Picker:
- Manage Tags in Edit Mode (Drawing Menu)
- Re-Arrange Tags
- Removing Tags
- Renaming Tags
- Assign Tags to Drawing Documents
- Adding a New Tag to a Drawing Document (or Folder)
Managing Tags in Edit Mode (Drawing Menu)
The following actions can be performed for Tags when in Edit Mode:
- Re-Arrange Tags
- Remove Tags
- Rename Tags
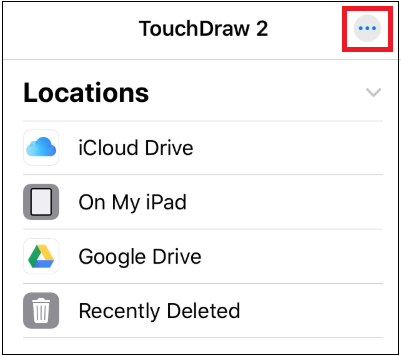
To enter Edit Mode, press on the More Options (…) Button located in the upper right corner of the Document Menu.
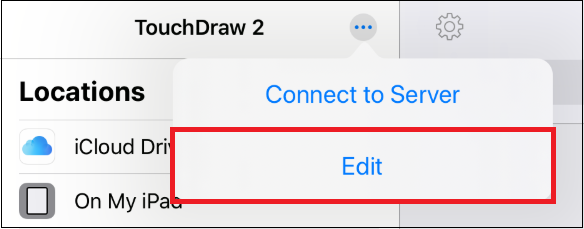
Next, tap the Edit option within the menu.
Re-Arranging Tags
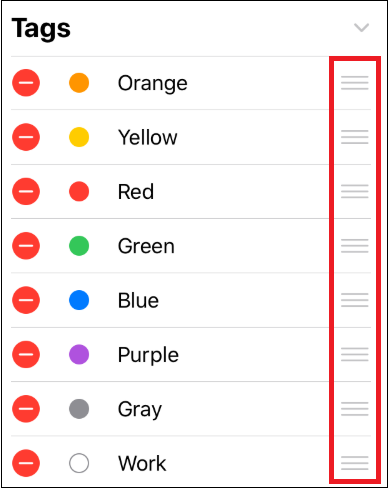
Press on the Re-Arrange Button located on the right of the tag name and then drag upward or downward to change the position of the tag in the list.
Note: Remember to tap Done in the upper right corner of the Document Menu after making any changes.
Removing Tags
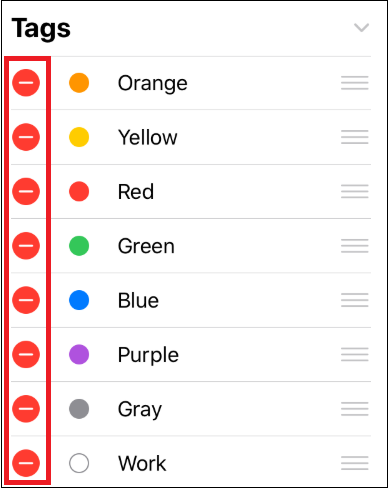
To remove a tag, complete the following steps:
Step 1: Tap on the Remove Button located to the left of the tag name.
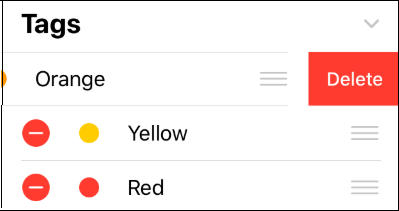
Step 2: In this example, the Orange tag will be removed. Press on the Delete Button to remove the tag.
Note: Remember to tap Done in the upper right corner of the Document Menu after making any changes.
Renaming Tags
To rename a tag, complete the following steps:
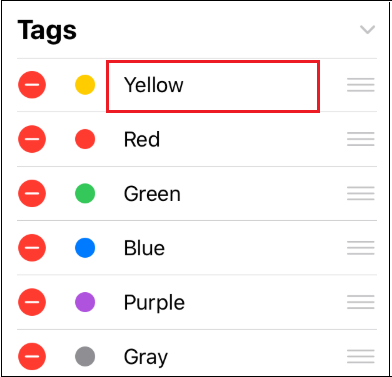
Step 1: Tap on the Tag Name.
Step 2: Enter a new name using the keyboard. You will need to remove the current name before typing a new one.
For this example, Test Tag will be entered. Tap Done to on the Keyboard to finish the change.
Step 3: Tap Done in the upper right of the Document Menu to exit Edit Mode.
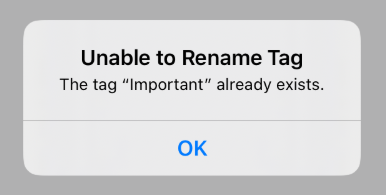
Note: If the entered name has already been used for a tag, then the following message will be provided. A name can only be used for one tag.
Assigning Tags to Drawing Documents
Tags in the Document Menu can be used to filter drawing documents based on the assigned tag.
A tag can be assigned a document through the Document View.
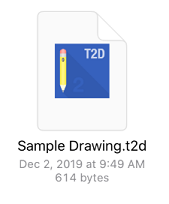
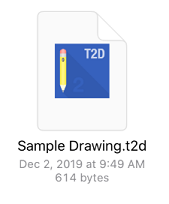
- Perform an extended press over the drawing document.
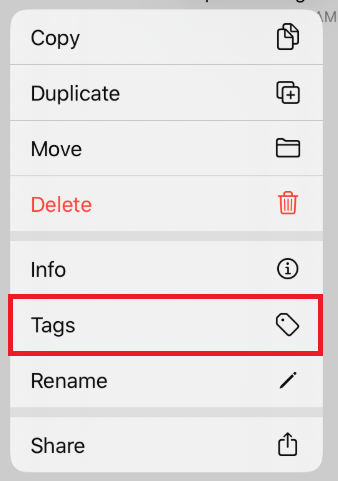
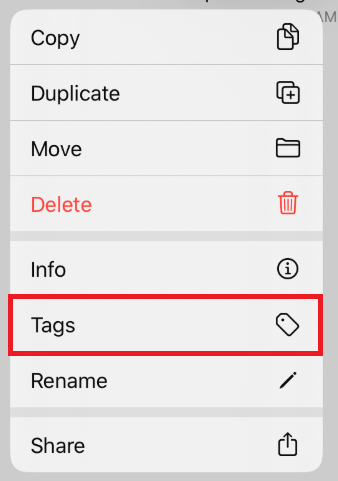
- The contextual menu will appear with additional options.
- Tap on the Tags option.
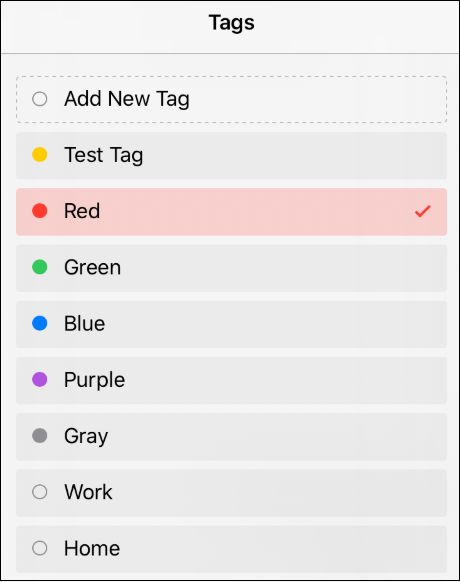
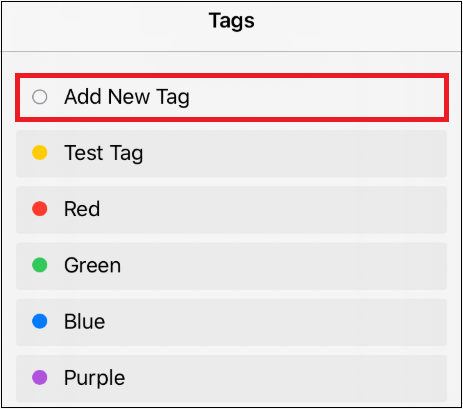
- Tap on an available tag to assign it to the document. Assigned tags will have a checkmark next to their name.
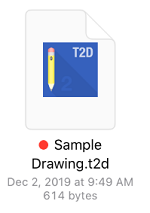
- The drawing document will have a dot matching the color of the assigned tag.
Note: More than one tag may be assigned to a drawing document by performing the steps above.
Adding a New Tag to a Drawing Document (or Folder)
To add a new tag, complete these steps:
- Perform an extended press over a drawing document (or folder) within the Document View.
- The contextual menu will appear with additional options.
- Tap on the Tags option.
- Tap the Add New Tag option.
- Enter a Name for the new tag and select a Color (if desired). It will default to white.
- Tap Done in the upper right corner.
Note: Once the tag has been created, you will be able to assign it to the drawing document or folder.
