Adding a Stencil to a Library
When adding stencils to a library, they may be added individually or as a group. A stencil must be added to a library in order to be saved in TouchDraw 2 and available for future use within drawings.
Adding an Individual Stencil
To Add an Individual Figure into a library as a stencil, complete the following steps:
Step 1: Draw the figure within the Drawing Canvas and select it, as shown below.
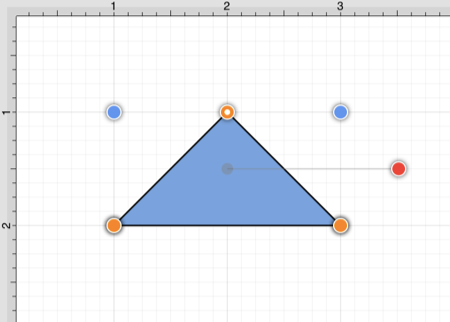
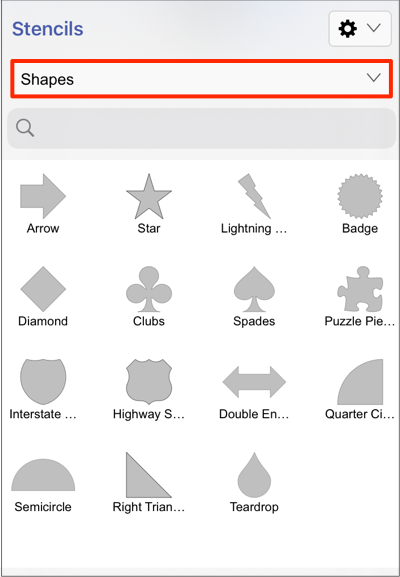
Step 2: Next, press on the Stencil Libraries Button in the Top Toolbar.

Step 3: Press on the Library Selection Menu to select the library the stencil will be added to. Perform a Touch/Drag gesture combination in an upward or downward direction within the menu. Press on the library name within the menu to select it.
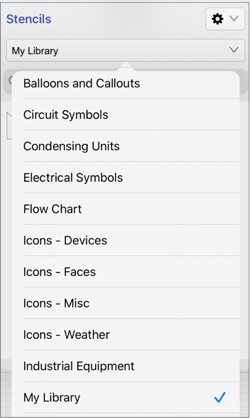
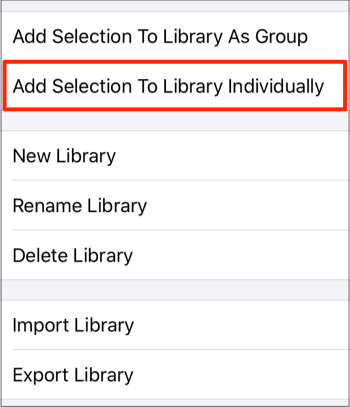
Step 4: Press on the Stencil Libraries Settings Menu to access the options for adding stencils to a library in TouchDraw 2.
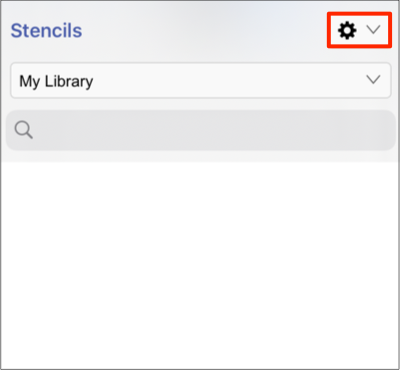
Step 5: Next, press on the Add Selection To Library Individually option within the menu.
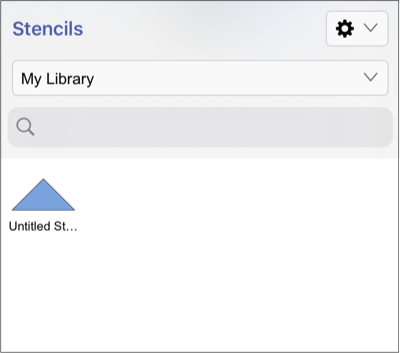
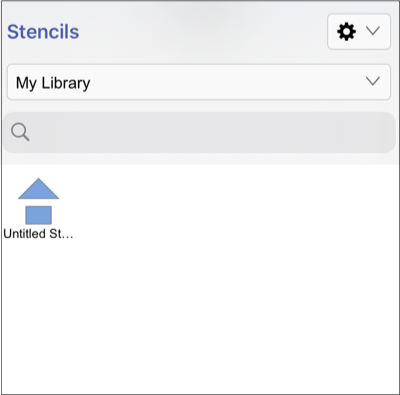
Step 6: The figure will appear as a stencil within the selected library in the Stencils Menu.
Adding a Group as a Stencil
To Add a Group of Figures into a library as a stencil, complete the following steps:
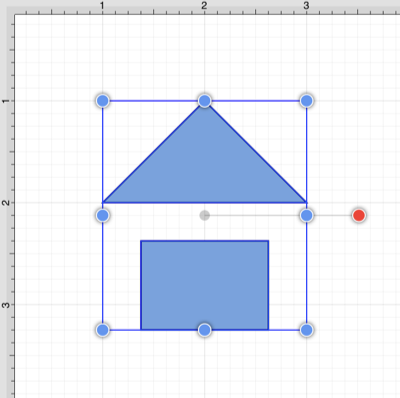
Step 1: The group of figures must first be drawn within the Drawing Canvas and selected, as shown below.
Step 2: Next, press on the Stencil Libraries Button in the Top Toolbar.

Step 3: Press on the Library Selection Menu to select the library the stencil will be added to. Perform a Touch/Drag gesture combination in an upward or downward direction within the menu. Press on the library name within the menu to select it.


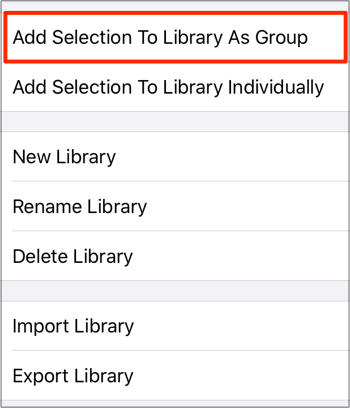
Step 4: Press on the Stencil Libraries Settings Menu to access the options for adding stencils to a library in TouchDraw 2.

Step 6: Next, press on the Add Selection To Library As Group option within the menu.
Step 7: The group of selected figures will appear as a single stencil within the selected library in the Stencils Menu.
Note: To learn how to change the name of an added stencil, refer to the Renaming a Stencil section of the documentation.