Converting Shapes to Paths
The Convert to Path option allows a selected shape(s) on the Drawing Canvas to be converted into a path figure. Follow the steps below to convert a shape to a path:
Step 1: Select the shape to be converted.
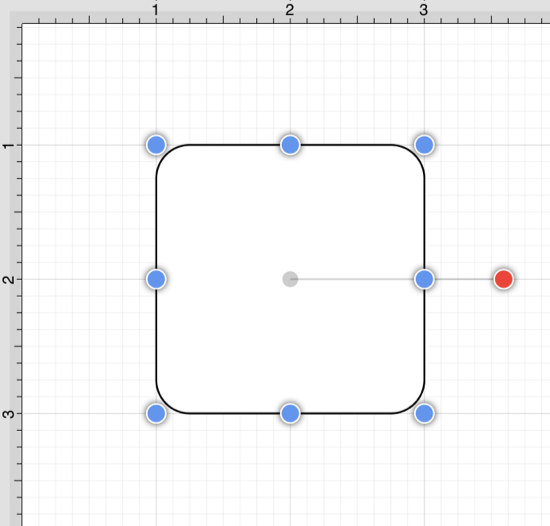
Step 2: Press on the Modify Menu.
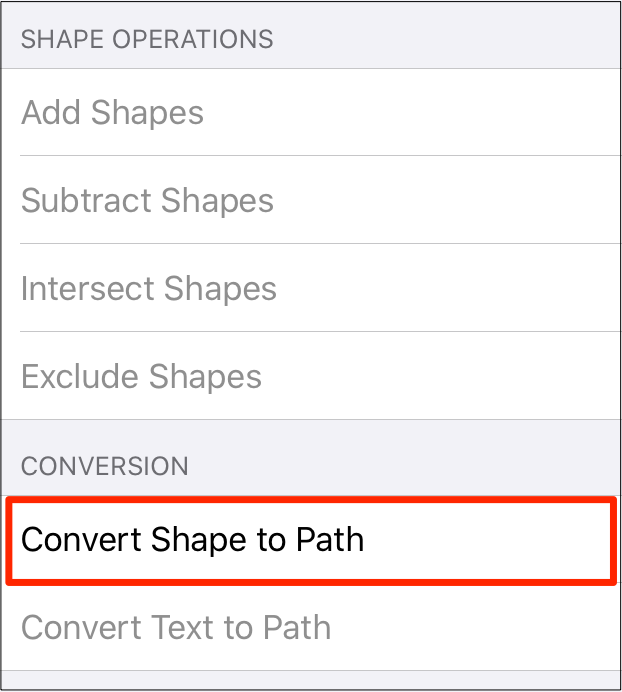
Step 3: To access the Convert To Path option in the Modify Menu when in Landscape Mode, scroll through the menu view by touching and dragging in an upward direction.
Tap on the Convert To Path option in the Conversion Section of the menu to select it and then tap anywhere within the Drawing Canvas to close the menu.
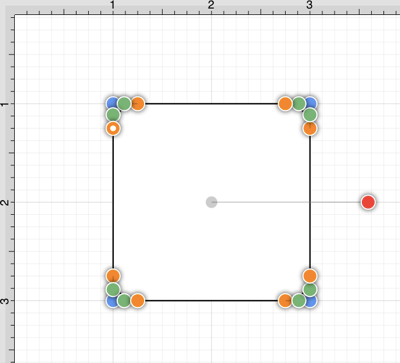
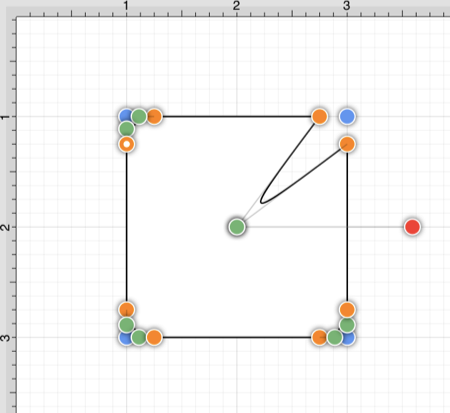
Step 4: Each individual segment used to create the shape will be converted into a path segment with corresponding segment end point handles (orange). A start handle (orange with white dot) shows the initial starting point of the path. New bounds handles (blue) are assigned in relation to the created path and control point handles (green) are added to each curved segment.
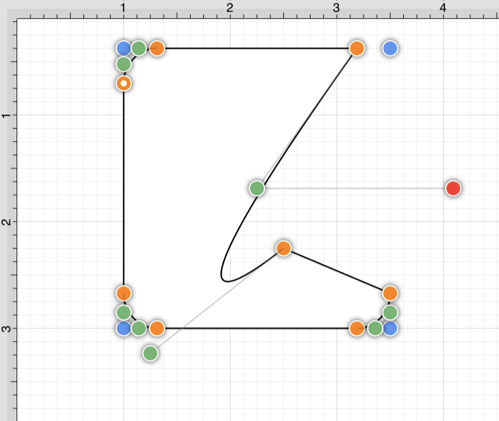
Any attribute changes available for a path can be performed on the converted object. For example, the upper right curve of the rounded rectangle can be dragged to another location to alter its size or shape. In the image below, both upper right control points have been moved down and to the center of the figure.
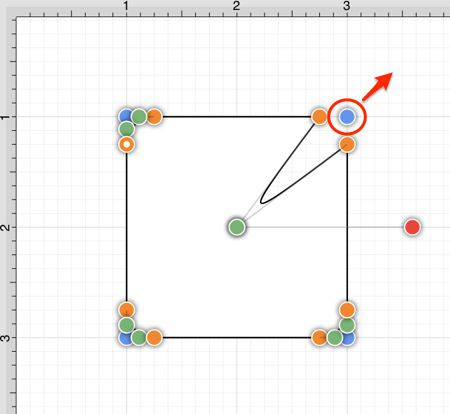
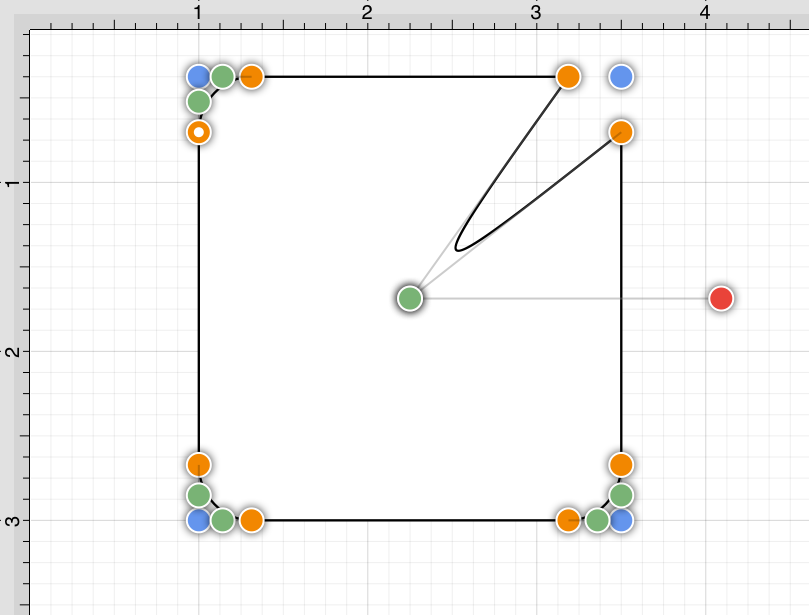
Perform a Touch/Drag gesture combination on one of the bounds handles (blue) to alter the size of the path. In the example below, the upper right bounds corner has been drug upward and to the right to create a larger figure.
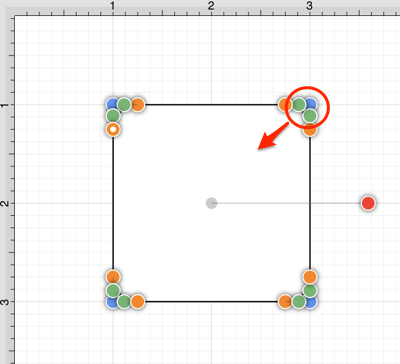
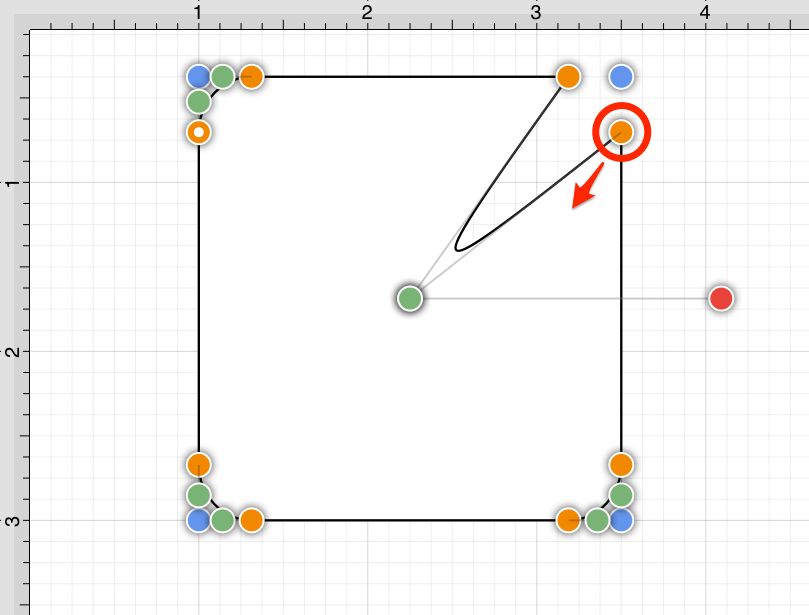
Perform a Touch/Drag gesture combination on a segment end point handle (orange) to alter the size of individual path segments. In the image below the circled segment end point handle has been dragged downward and to the left within the path object to create the shown change.
Note: Refer to the Handles Reference Table to learn more about individual handles used within TouchDraw 2.
Note: Additional information about altering paths can be found in the Handling Paths section of this documentation.
