Connection Tool
The Connection Tool can be used to draw lines for connecting one figure to another and makes it easy to create connected graphs such as flow charts.
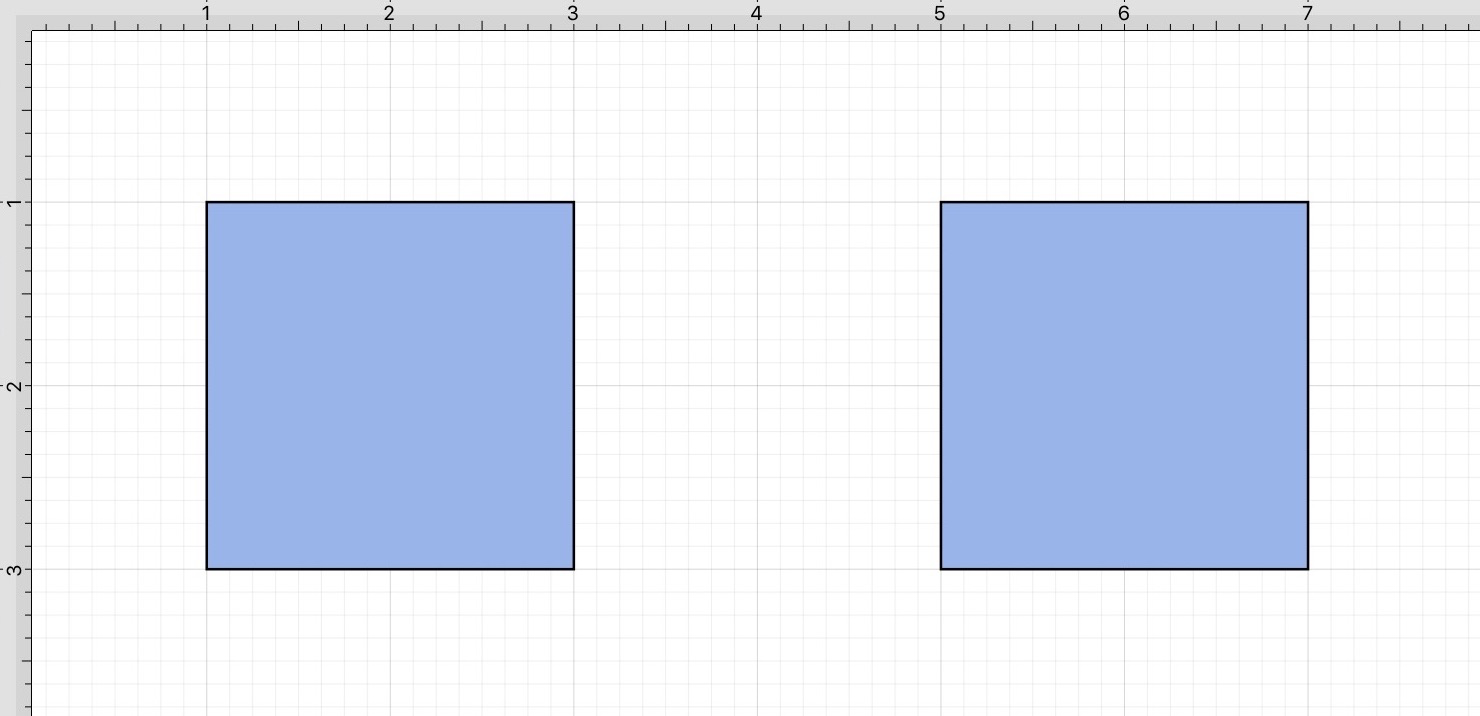
Table of Contents
- Creating a Line Connection Between Two Figures
- Text Location and Orientation
- Orthogonal Connectors Setting for Connection Lines
- Additional Information
Creating a Line Connection Between Two Figures
Complete the following steps to add a line connection between 2 figures:
Step 1: Begin by creating two figures and then select the Connection Tool. All figures including path shapes, text blocks, and images can be connected with the exception of lines and open paths.
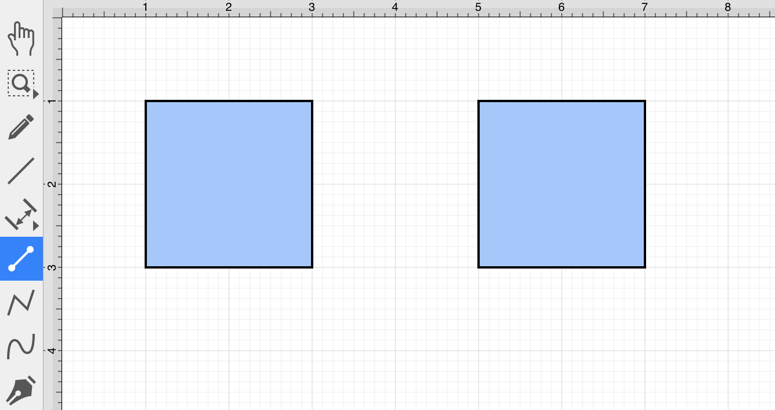
Note: The Connection Tool defaults to a straight line; however, additional options are available for using this tool in TouchDraw 2. To learn how to change the connection type, please see Changing Connector Types.
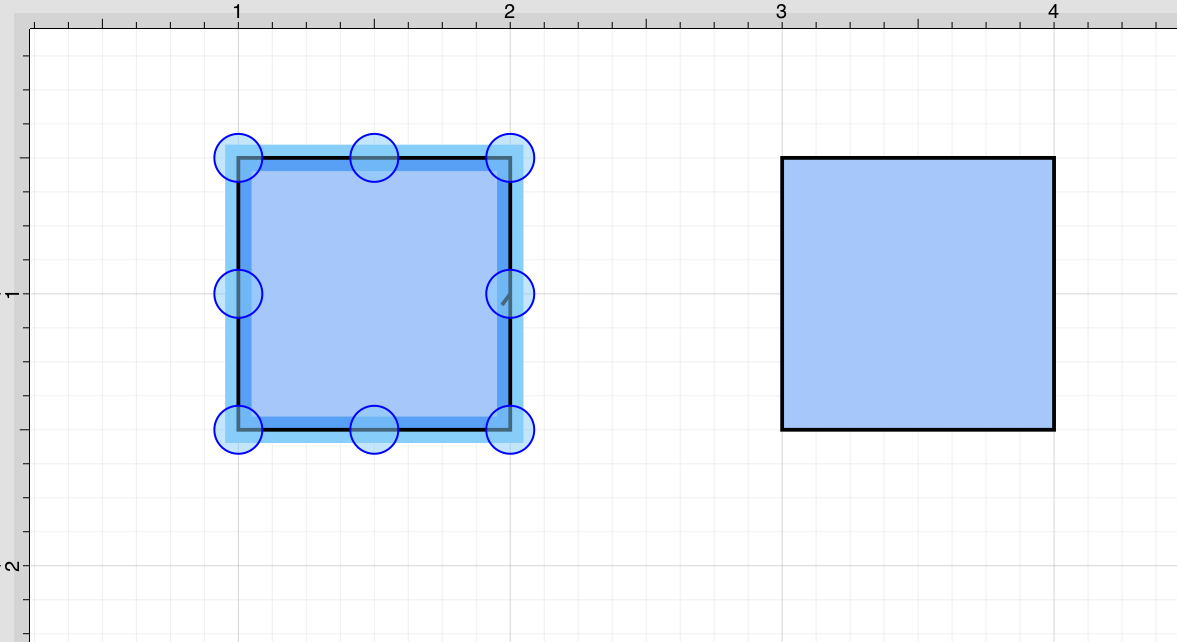
Step 2: Touch (but do not lift your finger) within the first shape to be connected. The figure will be “highlighted” with a light blue border that contains each available connection point will when the selection has been performed correctly. A connection can be made between any of the displayed points within the start and target figures.
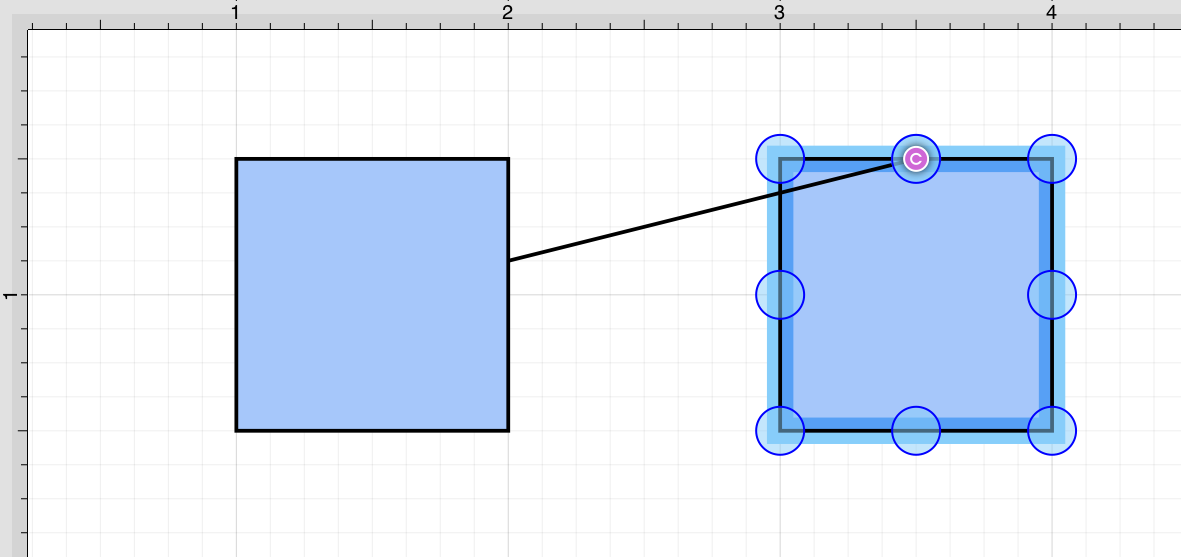
Step 3: Drag your finger from a point within the start figure to a displayed point within the end figure where the connection will terminate.
When your finger is within the “target” figure, it will be “highlighted” with a light blue border that contains each available connection point. The light blue border indicates the ability to connect the second figure to the source figure.
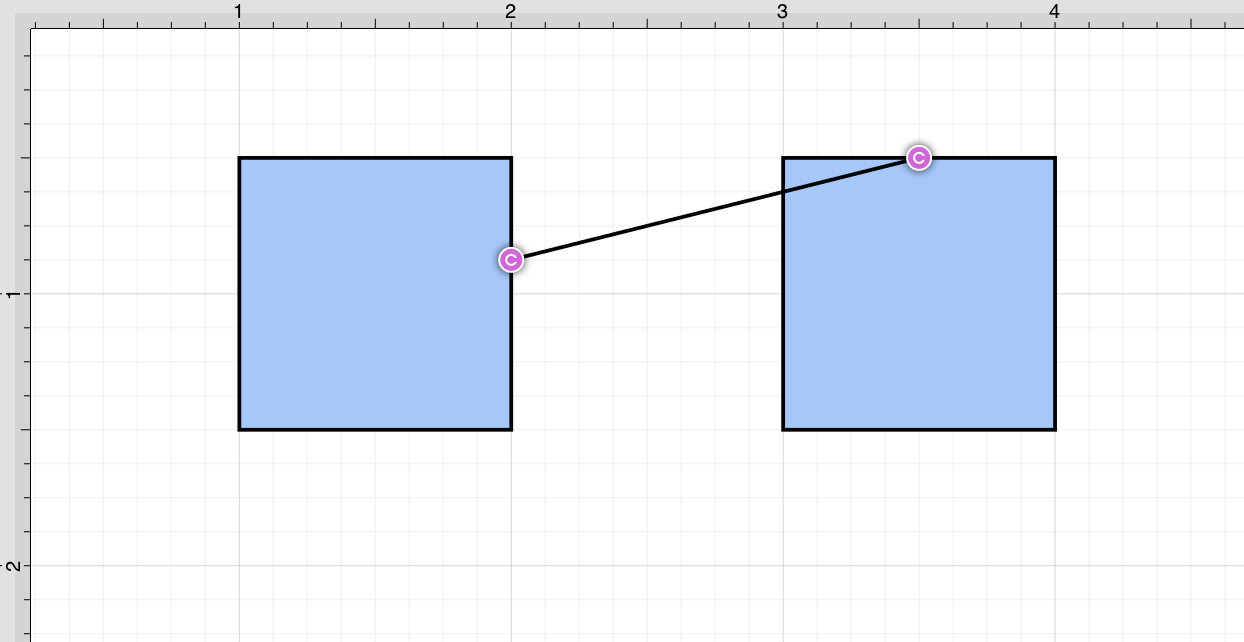
Step 4: The connection line will be created between a point on the start figure and the chosen point within the target figure when the Touch/Drag gesture combination is released.
Note: After a connection line is created, perform a Touch/Drag combination on a connection handle to change its position within the start or end figure.
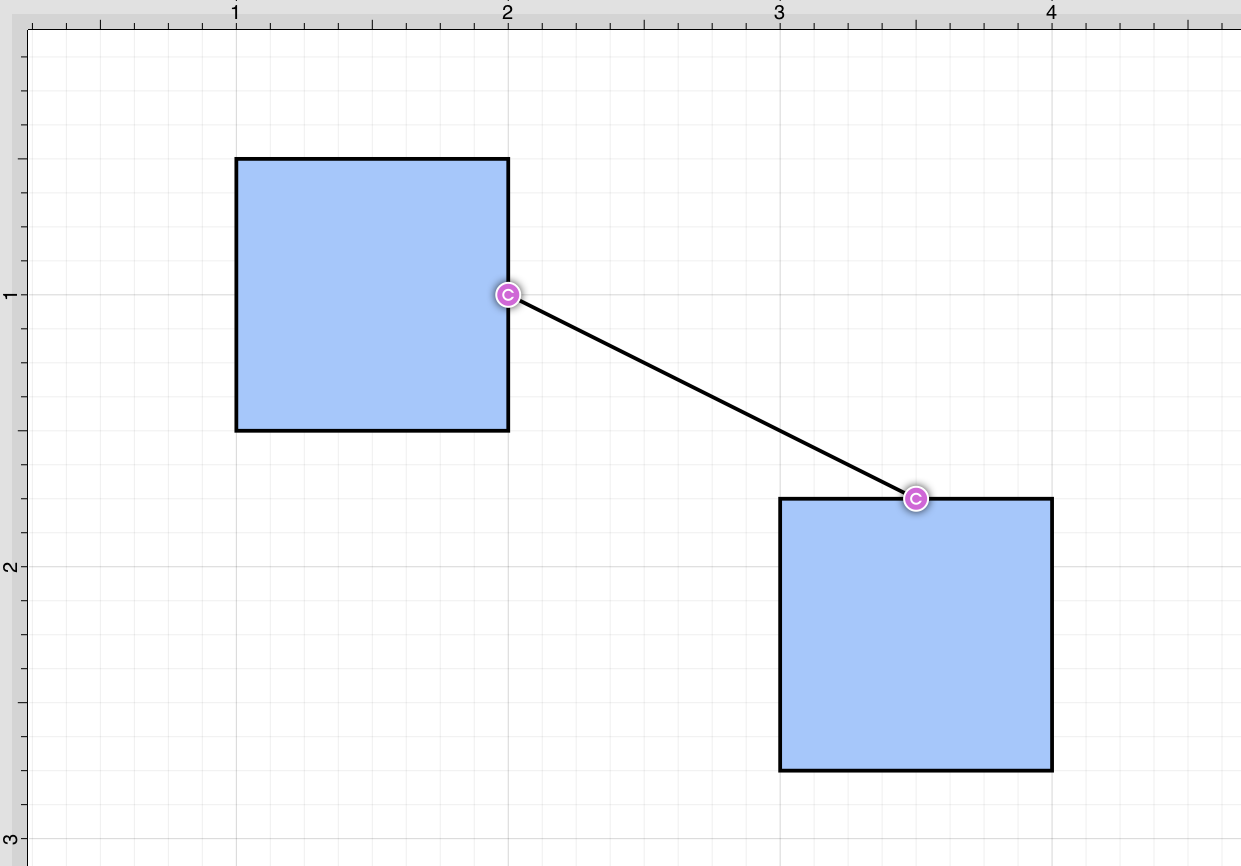
Step 5: Performing a Touch/Drag gesture combination on the second figure after the connection is established results in the connection line position being adapted to keep the two figures connected.
Note: Once a shape has been connected, the handle may be dragged while using the Function Key Feature or holding the Shift Key down on your keyboard and then moving the connection handle to any arbitrary point within a shape. The handle will stay connected to that point.
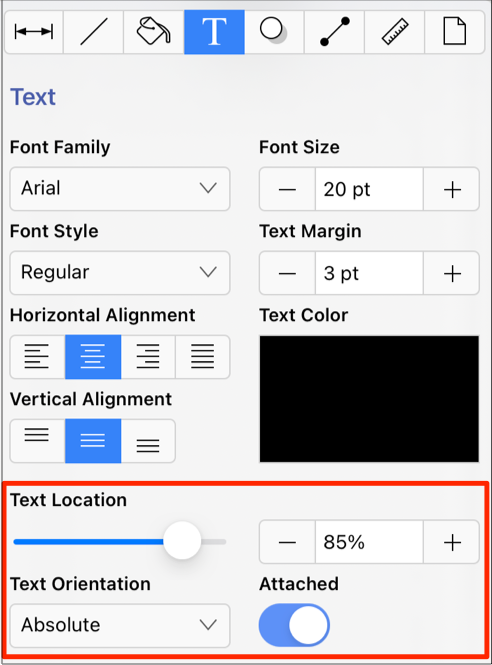
Text Location and Orientation
Text can be added and attached to a Connection Line. The location and orientation of attached text can be altered for Connection Lines within the Text Tab.
Orthogonal Connectors Setting for Connection Lines
The Orthogonal Connectors setting can be enabled to automatically constrain connection lines to be orthogonal.
Complete the steps below to enable this option (if disabled):
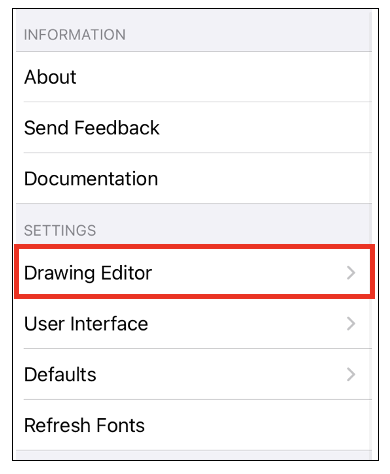
Step 1: Press on the Settings icon within the Top Toolbar.

Step 2: Tap on Default Settings.
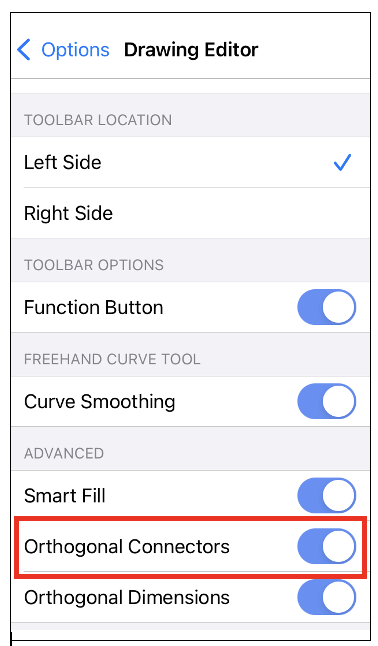
Step 3: Tap on the Orthgonal Connectors option toggle slider to enable. It will be blue when enabled.
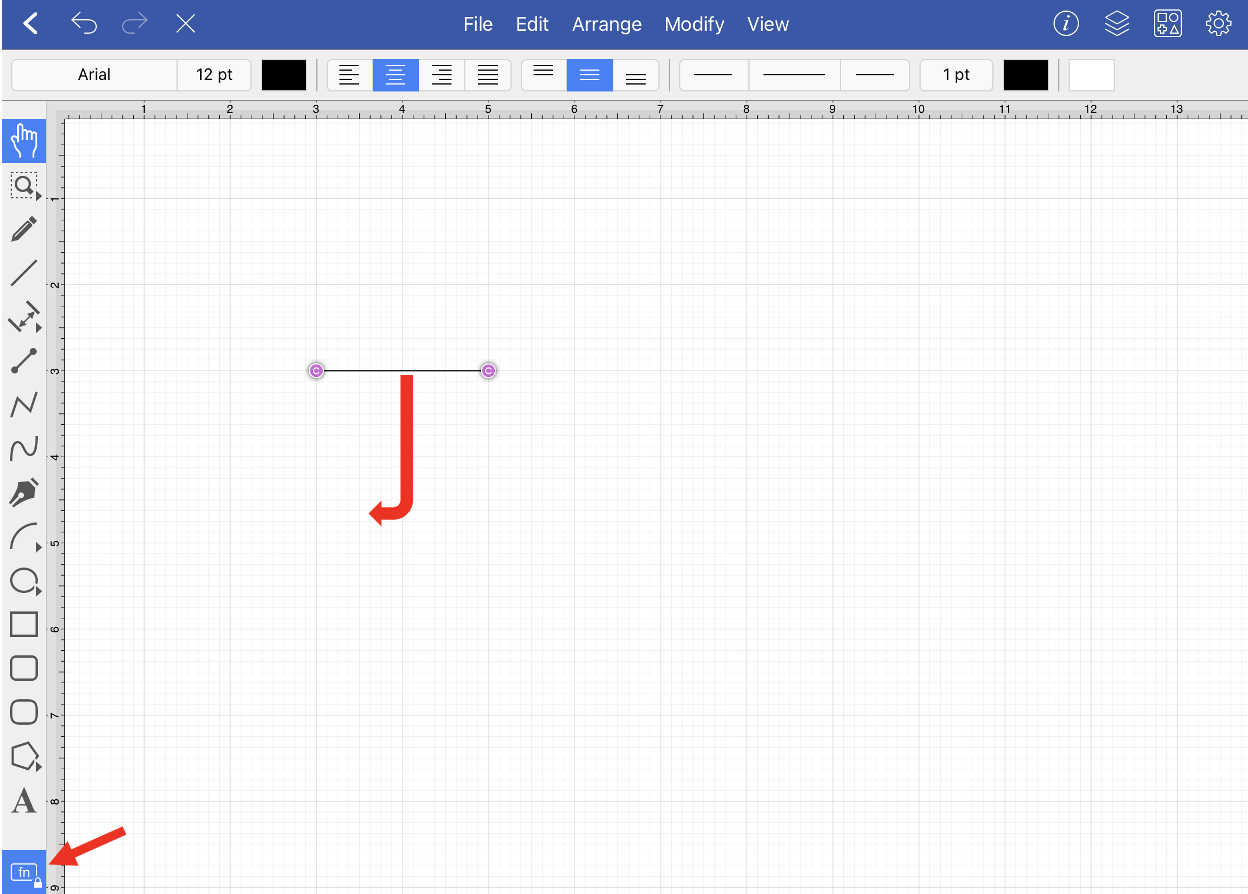
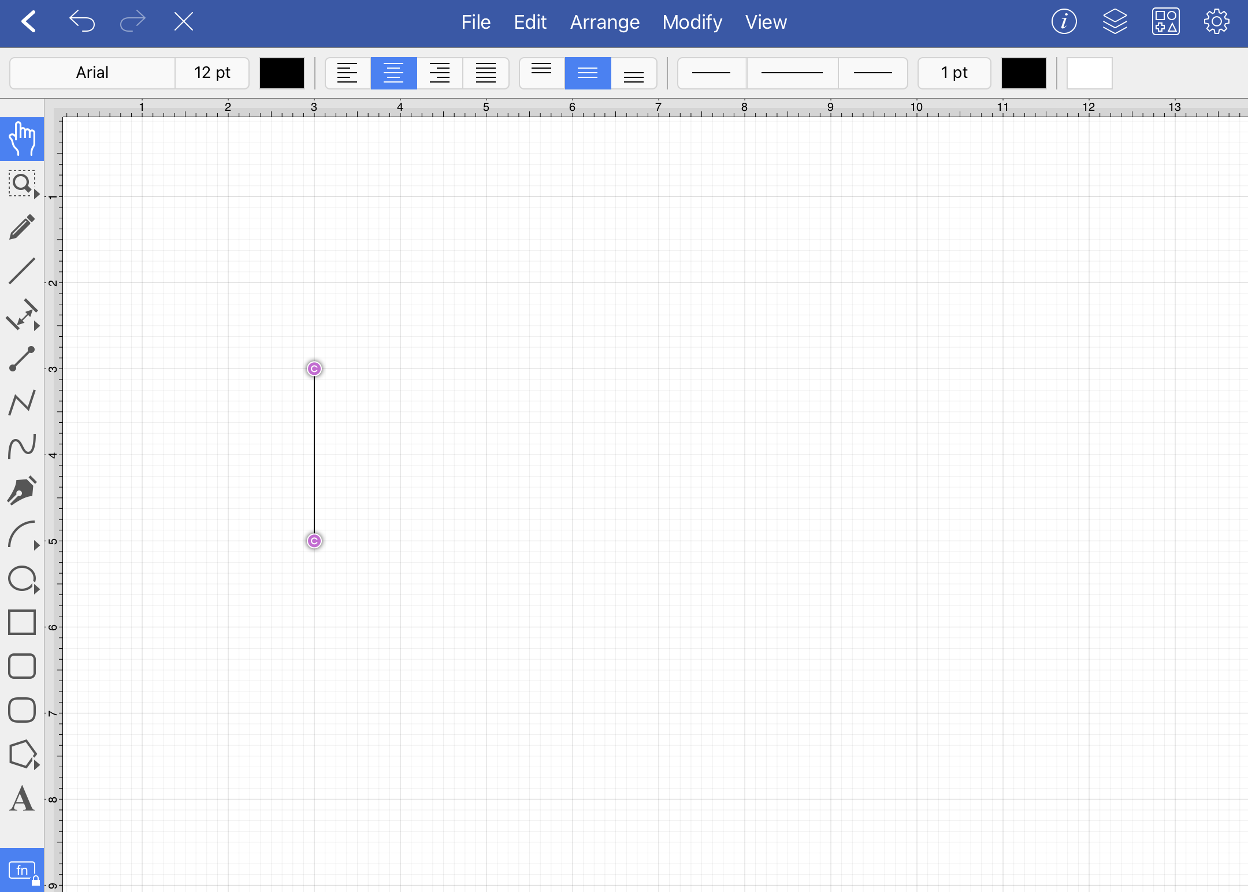
Step 4: After this setting has been enabled, use the Function Key Feature in combination with a Touch/Drag action to constrain the Connection Line orthogonally.
Additional Information
To learn more about using different connector types and the connection tool, please see the following pages:
- Changing Connector Types
- Line Connection Tool
- East-West Connection Tool
- North-South Connection Tool
- Horizontal-Vertical Connection Tool
- Vertical-Horizontal Connection Tool
- Path Connection Tool
- Hub Connection Tool
Table of contents
- Changing Connector Types
- Line Connection Tool
- East-West Connection Tool
- North-South Connection Tool
- Horizontal-Vertical Connection Tool
- Vertical-Horizontal Connection Tool
- Path Connection Tool
- Hub Connection Tool