Linear Gradient
The Linear Gradient fill style option is located in the Fill Tab. This attribute transitions the fill from a specific start color to the specified end color at a designated angle within a selected or created figure(s).
The Linear Gradient fill style can be accessed and configured by performing the following steps:
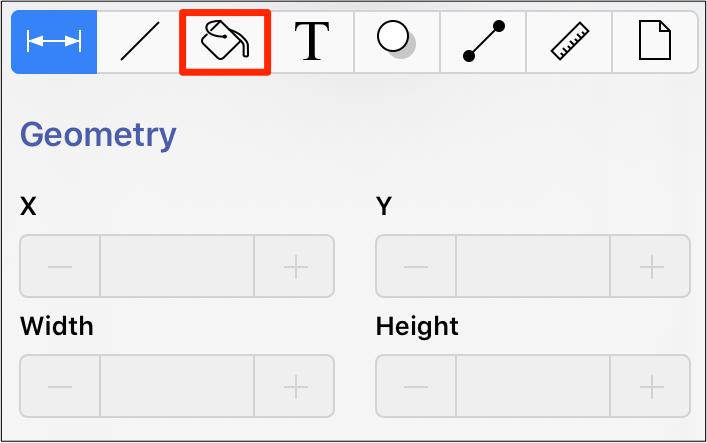
Step 1: Press on the Info Button in the Top Toolbar.

Step 2: Press on the Fill Tab.
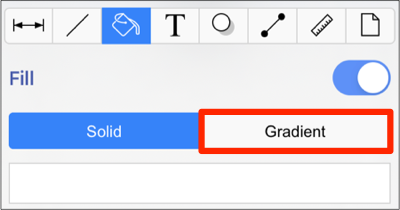
Step 3: Tap on the Gradient style option. Please note that the Fill Visibility option must be enabled for a style change to be applied to any currently selected or new figures.
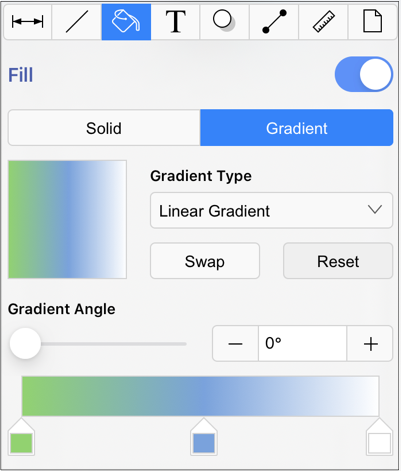
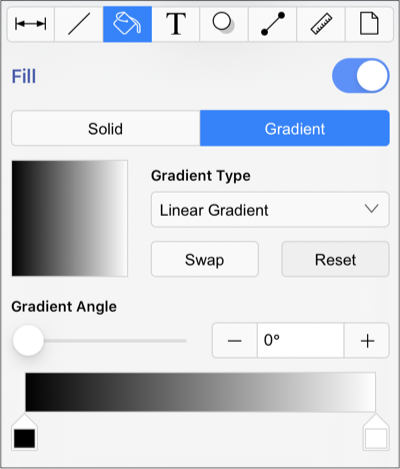
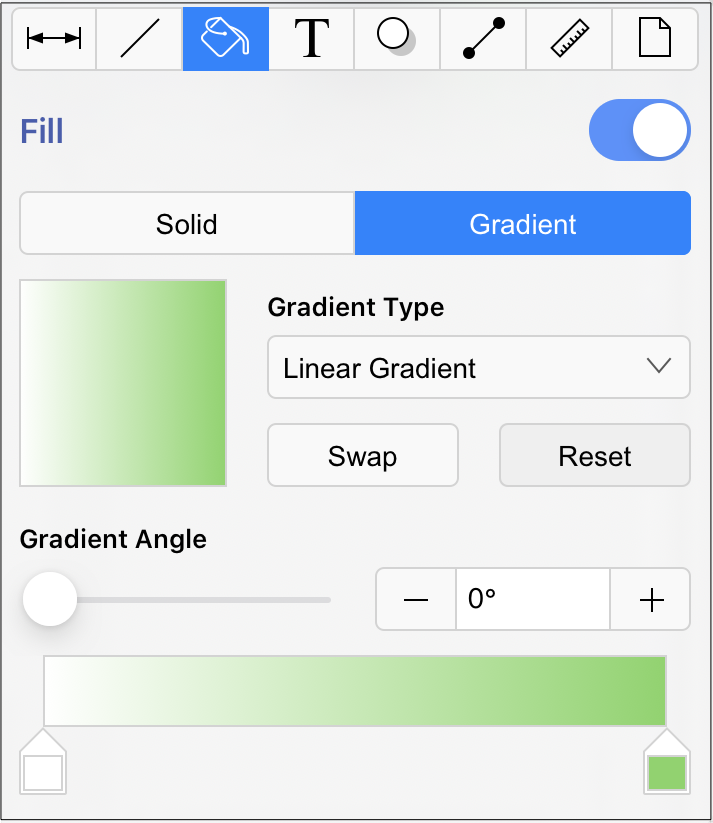
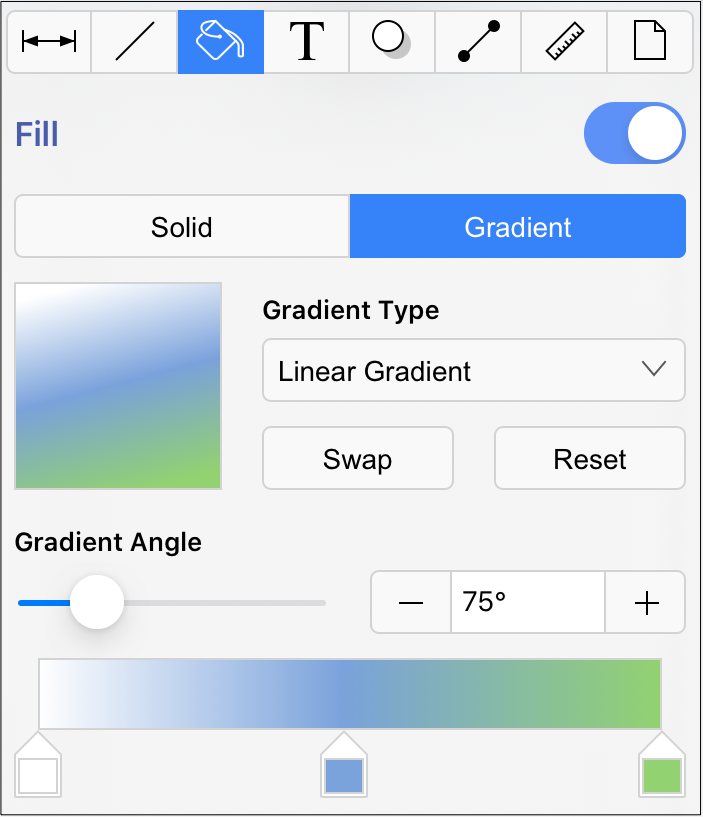
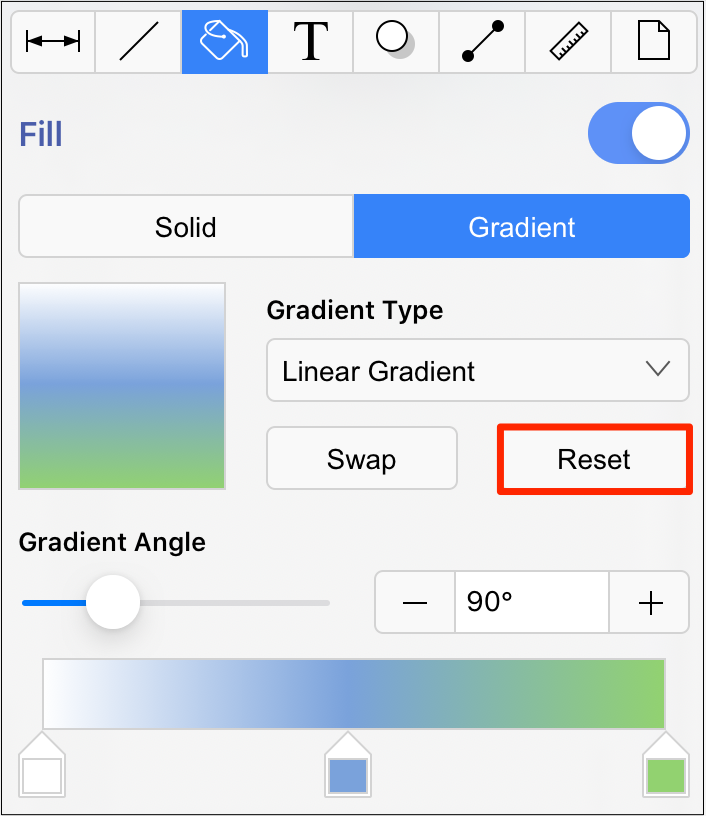
Step 4: The Fill Tab will expand, as shown below.
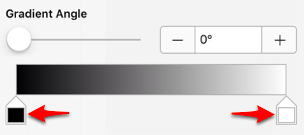
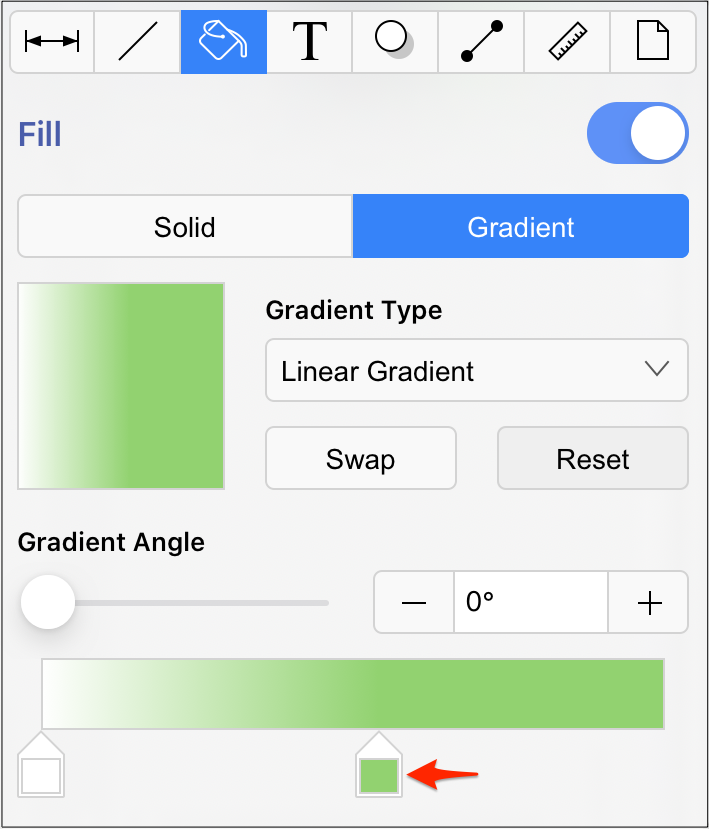
Step 5: Double Tap on either Gradient Handle to open the Color Picker and choose a hue.
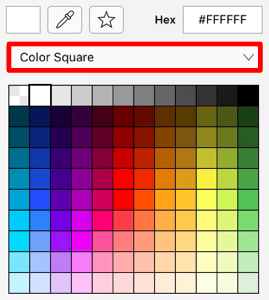
Step 6: In the Color Square, tap on a hue to make a selection. The selected hue will appear in the gradient handle within the settings.
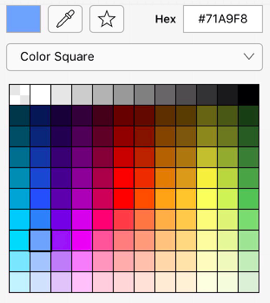
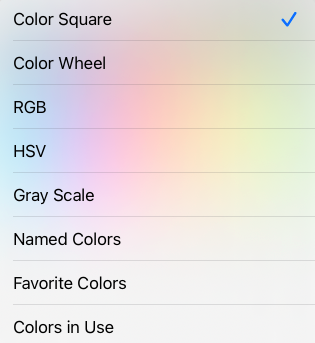
Step 7: You may also configure a color by choosing an option from the Color Selection Menu: Color Wheel, RGB, HSV, Gray Scale, Named Colors, Favorite Colors, or Colors in Use. To do so, press on the menu and then tap on an option.
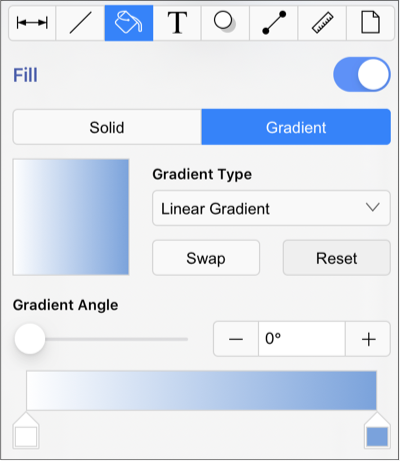
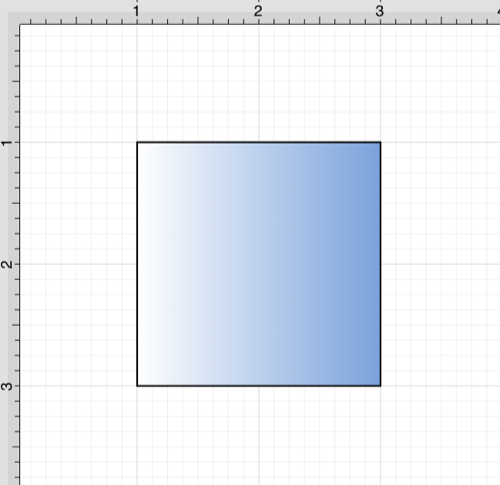
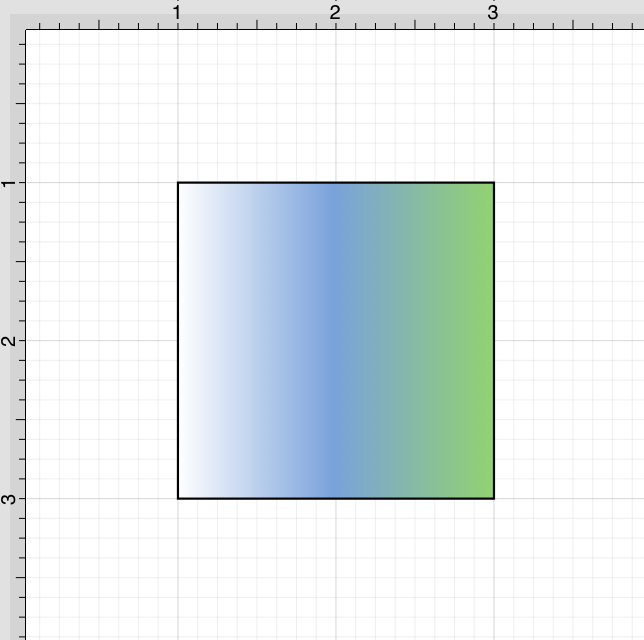
Step 8: The following example shows a rectangle with the Fill Style set to linear gradient and color set to blue:
Note: A style change will be seen instantaneously when a figure is selected. If figures have not been selected, the style change will apply to all subsequently created figures.
Working with Linear Gradients
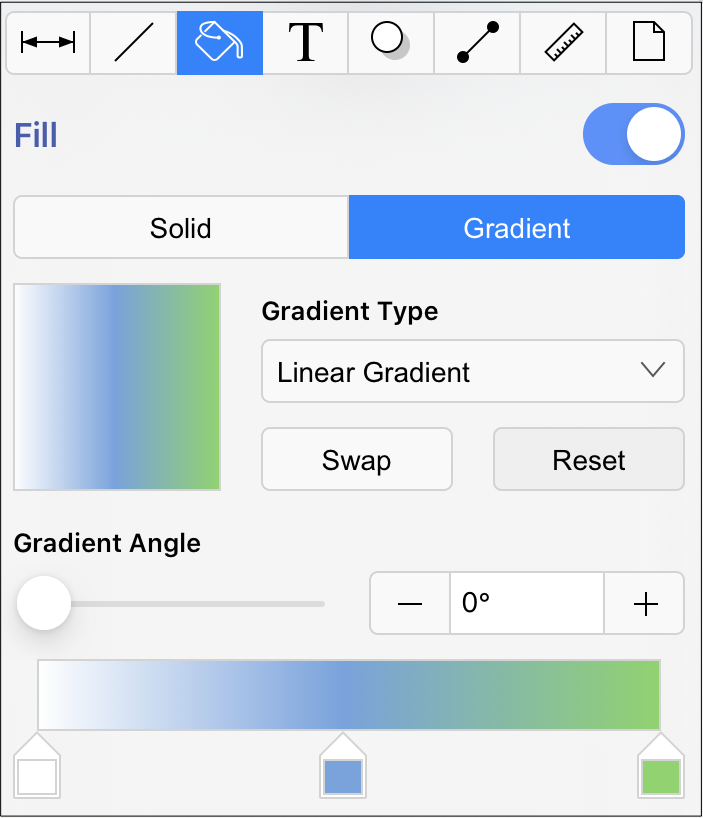
Gradient Handles can be added by tapping on any location underneath the transition bar. A Touch/Drag gesture combination can be used to move either Gradient Handle to alter the color transition of the fill.
Once a new handle has been added, Tap on the handle to open the Color Picker and add an additional color. More than one color can be added by setting each individual gradient handle to one of the desired colors. In the example below, three gradient handles are used with these colors: white, blue, and green.
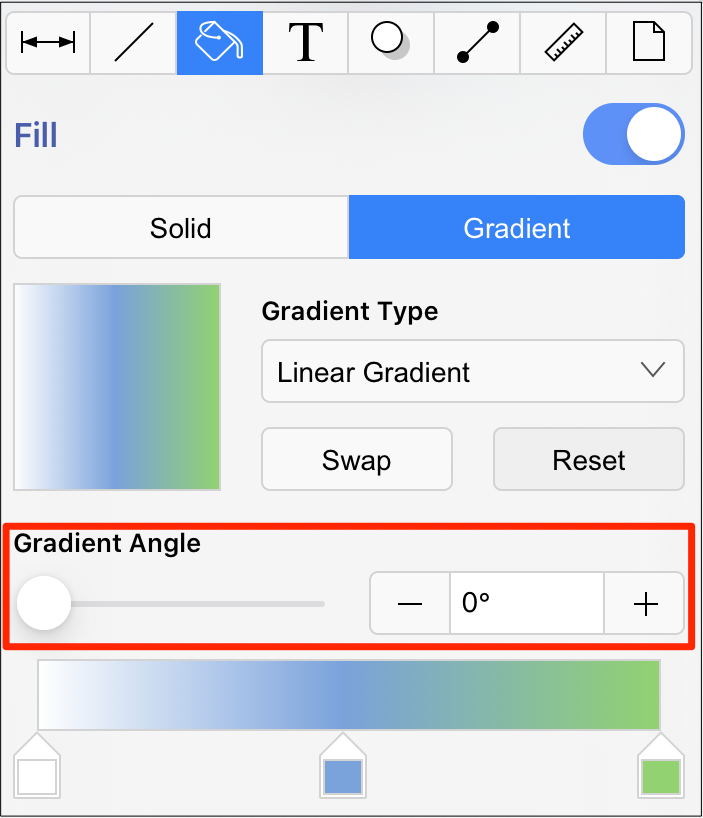
Angle
Perform a Touch/Drag gesture combination on the Angle Slider or Press on the Plus + and Minus - Buttons to change the angle value of a linear fill.
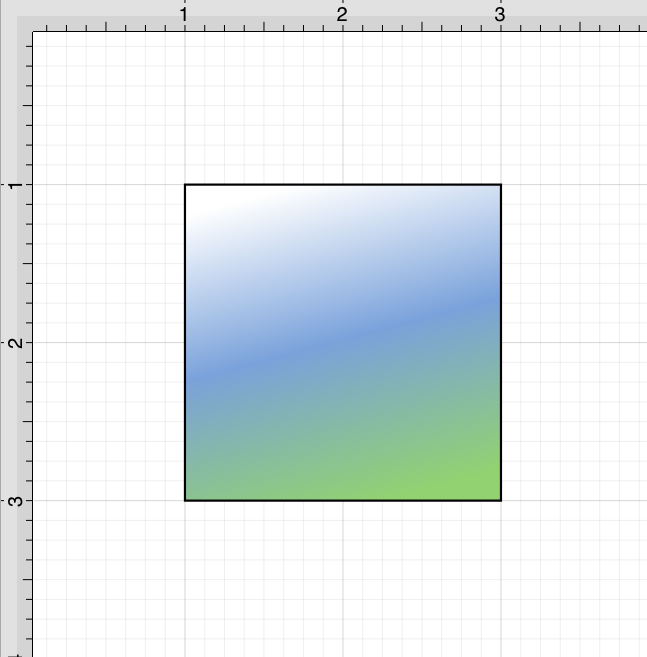
In the example below, the Angle has been set to 75 degrees.
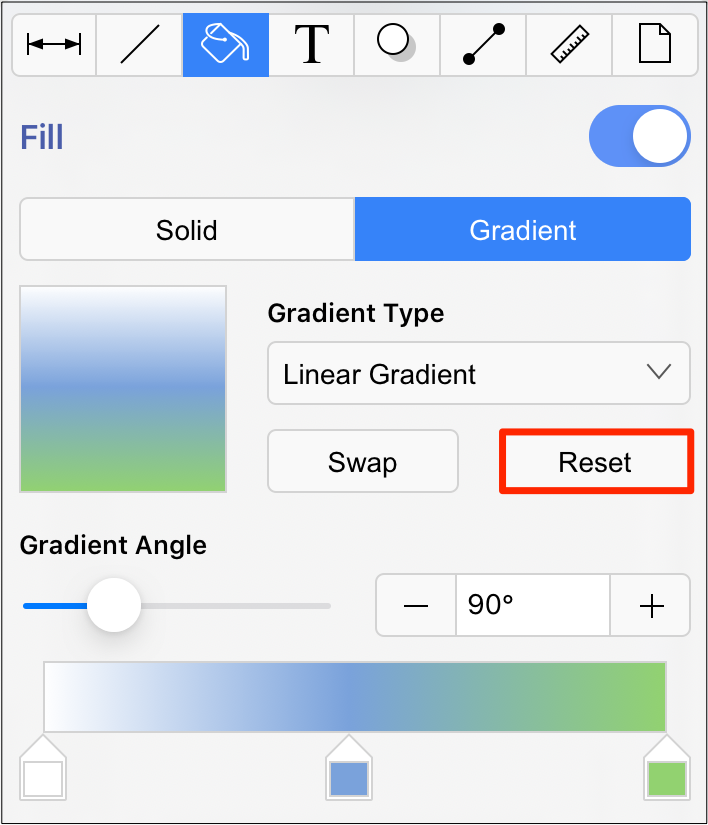
Reset Button
The Reset Button can also be used to reset the gradient handles on a figure(s) after they have been moved to another location. It may also be used to reset the angle back to zero and the gradient handles on the figure back to their original position.
This button will not be available as an option until the Gradient Locations option has been enabled (see below) and a change has been made to either the gradient handle positions and/or the gradient angle.

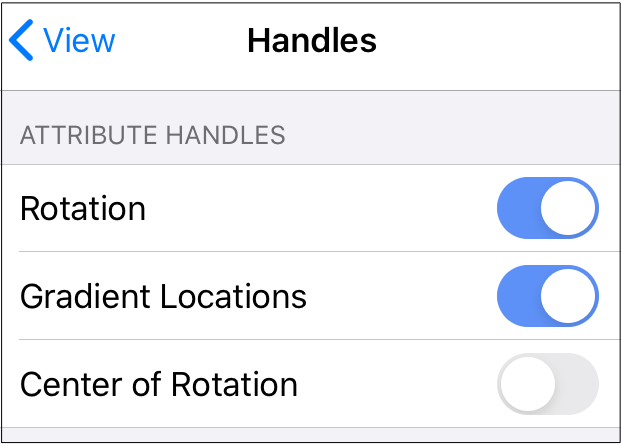
In order for this to be seen, you must have the Gradient Locations option enabled. To enable this option, press on the View Menu and then press on the Handles Submenu.
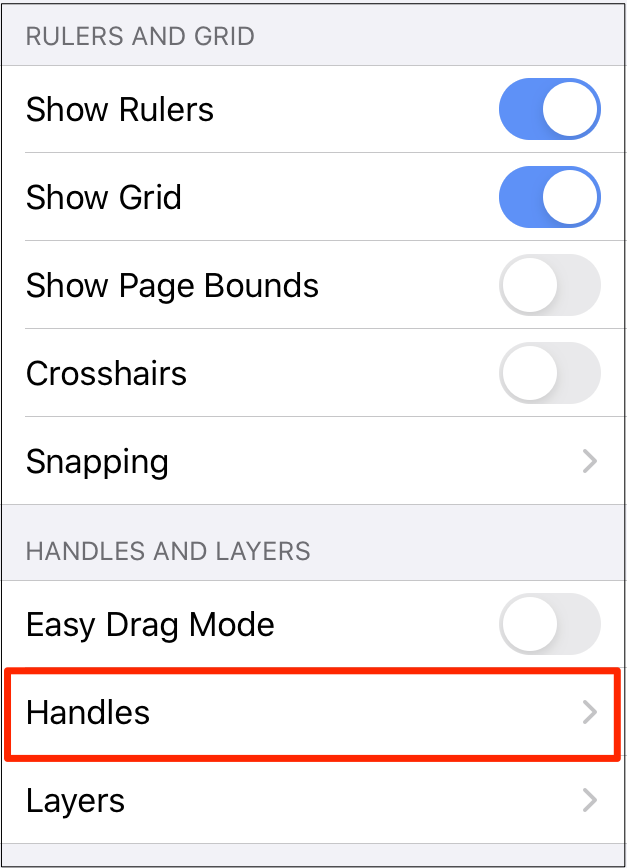
Then tap on the Gradient Locations option to enable it. When enabled, it will appear blue.

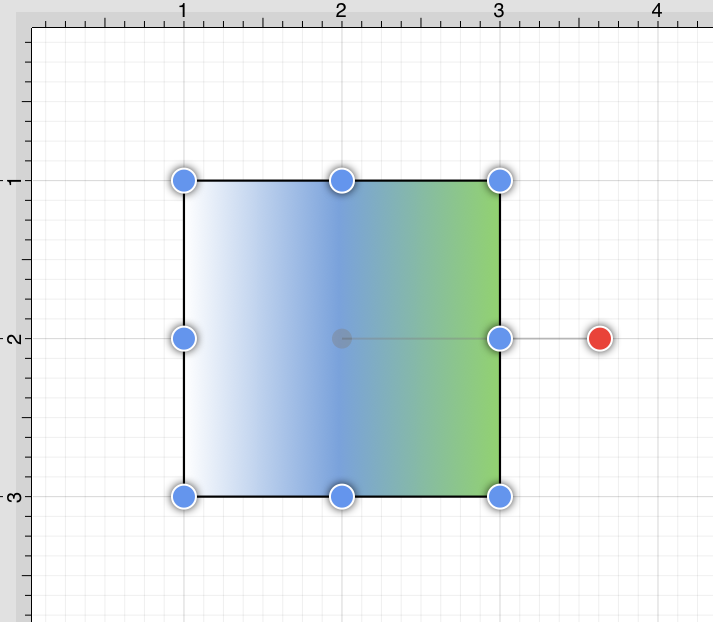
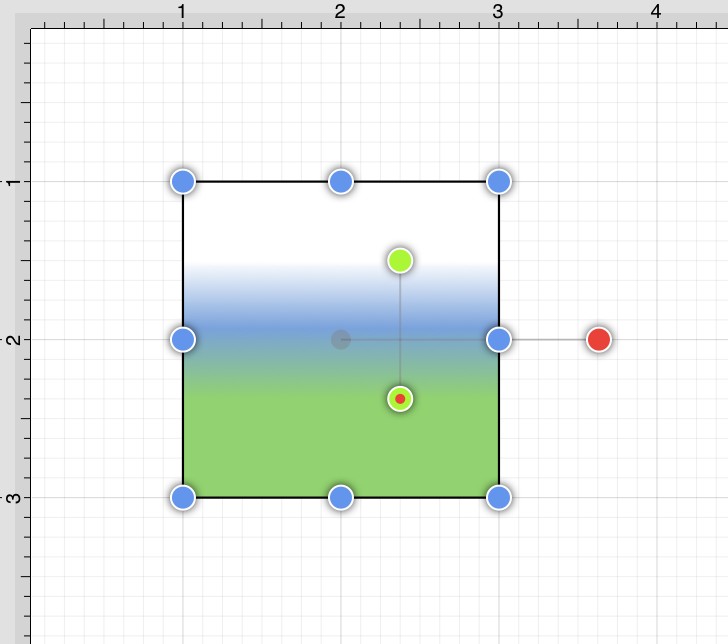
Once this option is enabled, you will see two additional handles on each selected figure. These may be used to adjust the angle and progression of colors for the linear gradient. Below you will see what a figure looks like when this option has not been enabled and then after it is enabled.
The two handles may be moved to any location within or outside of a figure to change the angle or fill pattern. To do so, press and hold on the handle. Then drag the handle in any desired direction without lifting your finger.
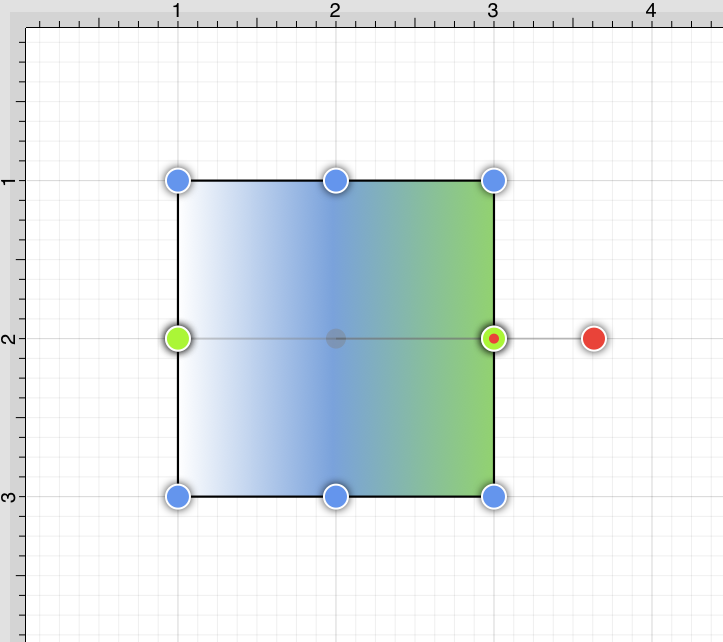
In the example below, one gradient handle has been moved up and to the right. The center gradient handle has been moved to the left and down.
After one or both gradient handles has been moved, click on the Reset Button to set the linear gradient handles back to their original location.
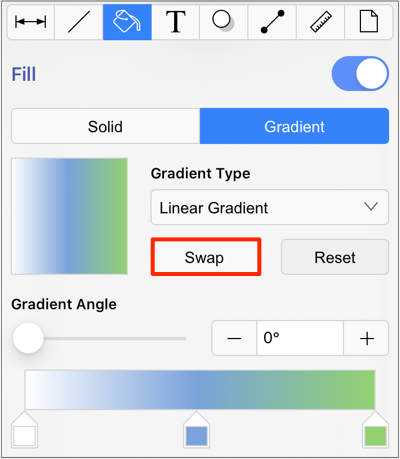
Swap Button
The Swap Button may be used to reverse the current angle and color slider settings. Click on this button again to revert back to the original color order.